Author: Andrew Mourcos
Published: 24 Feb 2023
Description: Progress update on our first electronics build
Electronics Assembly (Feb 20-24)
Last week, our first shipment of parts and boards arrived in the mail and we were able to start on our first build. This week’s blog will summarize the process.
Step 1: Paste
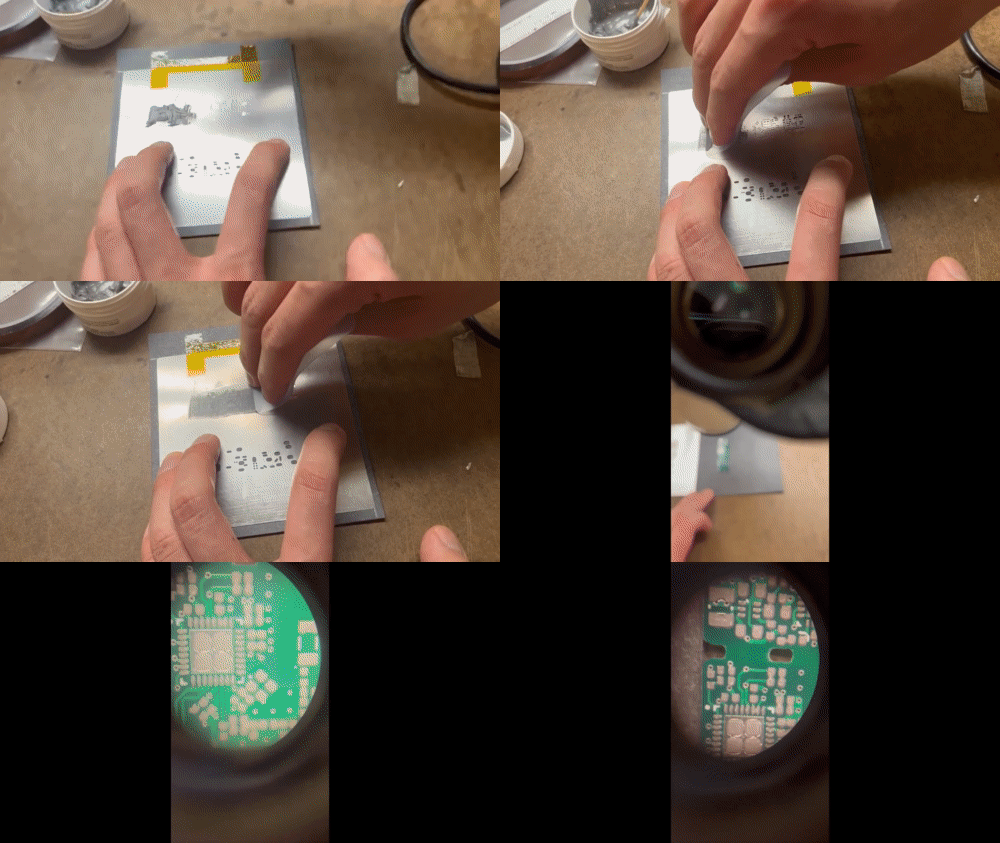
 applying solder paste through the stencil
The first step in our electronics assembly process was to apply solder paste over all of the pads on the custom PCB. We do this with the help of a laser-cut stencil taped to a makeshift board frame. Thankfully, we had access to a microscope, which we could use to visually examine the boards after applying paste. It took a couple of tries to get it right, but overall a very easy part of the process.
Step 2: Place
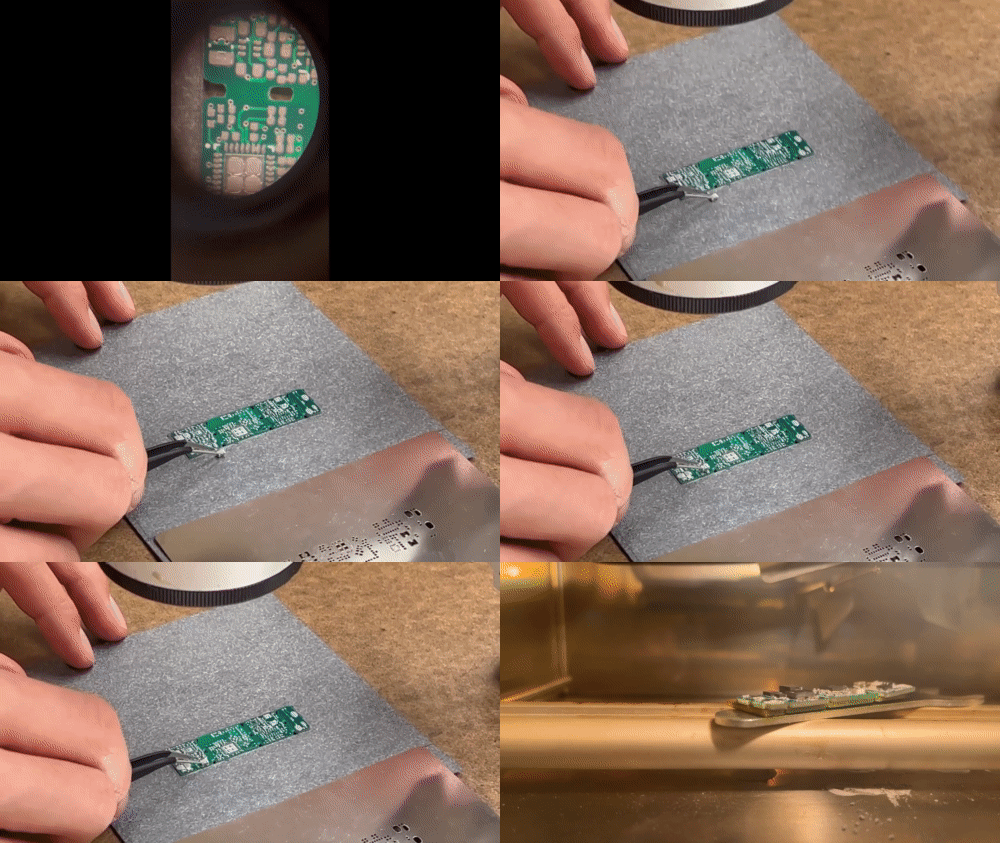
 placing the first inductor
The next step was to sit down at the microscope and place all of the chips on their respective pads. The board itself had silkscreen indicators for IC orientation, although there wasn’t enough space to include reference designators for all parts. For this reason, we had a labelled print of the board on hand. Tweezers were used to place all components under the microscope while another person was on standby to handle requests for the next component to place. This was the most challenging step as it was time-consuming and required focus to place sub-millimeter parts manually. We got quite good at it and only lost two resistors.
Step 3: Bake
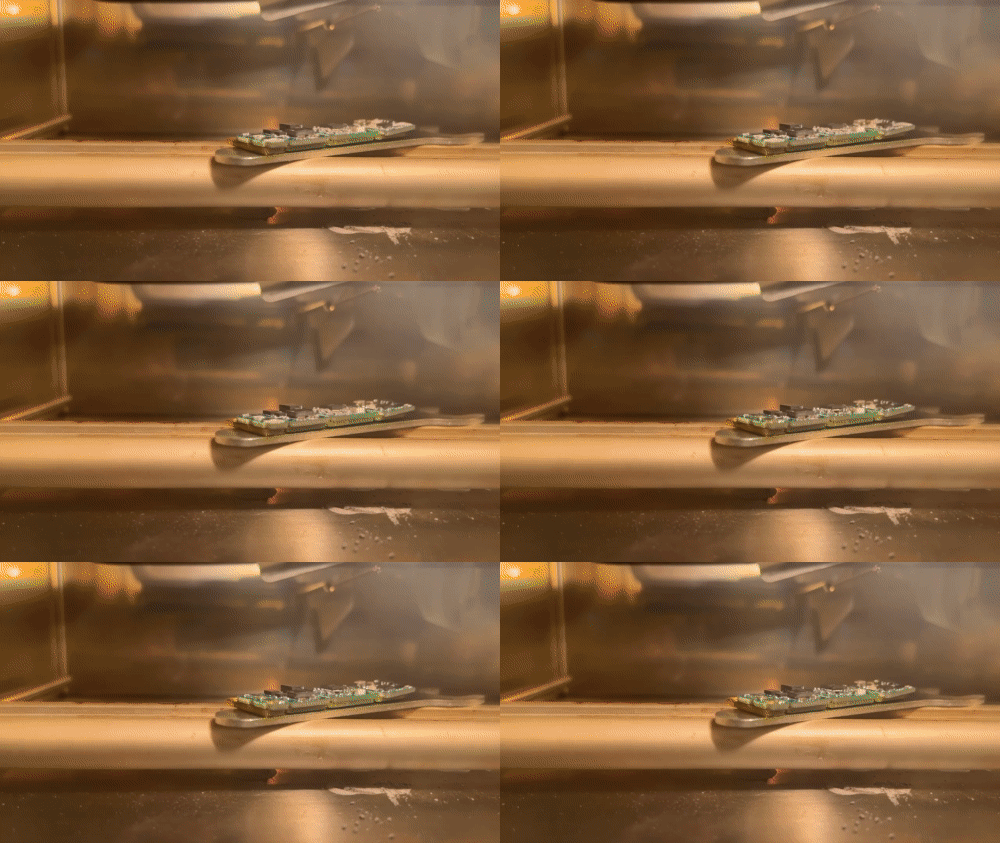
 timelapse of solder reflowing in the oven
With all chips placed on the board, the only thing left to do was pop it in the reflow oven.
Next Steps
After producing this first board, the only thing left to do was examine it under the microscope and make a few minor touch-ups at the rework station. After that, it was good to go! The next step is to solder some testing wires and do some system bring-up.